Optimal Timing for Chip Seal Road Repairs
Timing is crucial for effective Chip Seal Road Repairs. Optimal conditions involve dry weather, moderate temperatures, and low humidity. These factors ensure proper adhesion of the asphalt binder and aggregate, resulting in durable and long-lasting surfaces.
Dry, warm weather with temperatures between 50°F and 85°F promotes proper curing and adhesion during chip seal applications.
Late spring through early fall is preferred, avoiding periods of heavy rain or extreme cold to prevent surface imperfections.
Consistent temperatures help ensure the asphalt binder sets correctly, reducing the risk of early deterioration.
High humidity can hinder the bonding process and lead to surface issues, making dry conditions essential.

Optimal conditions for chip seal application.

Temperatures ideal for adhesion.
Best seasons for repairs.
Popular materials for Chip Seal Road Repairs and why they hold up over time.

Simple add-ons that improve Chip Seal Road Repairs without blowing the budget.
High-end options that actually feel worth it for Chip Seal Road Repairs.
| Season | Recommended Conditions |
|---|---|
| Spring | Dry, moderate temperatures, low humidity |
| Summer | Warm, dry weather; avoid extreme heat |
| Early Fall | Stable weather, mild temperatures |
| Late Fall | Risk of rain and early cold temperatures |
| Winter | Not suitable due to cold and moisture |
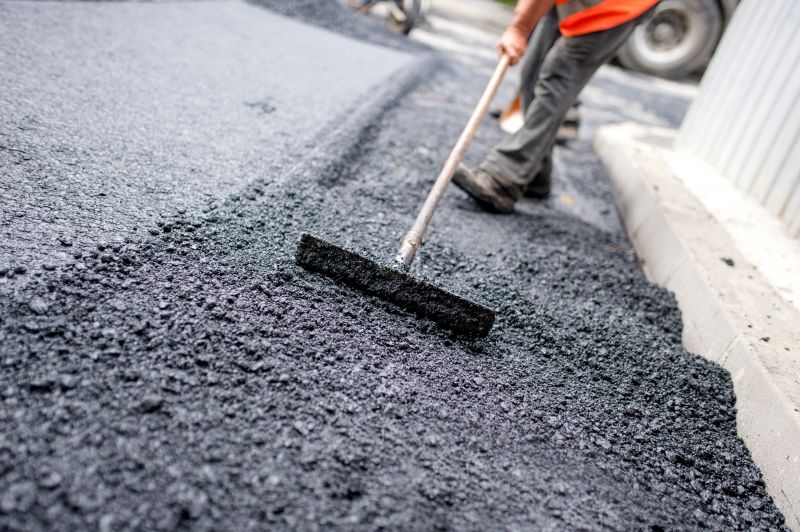
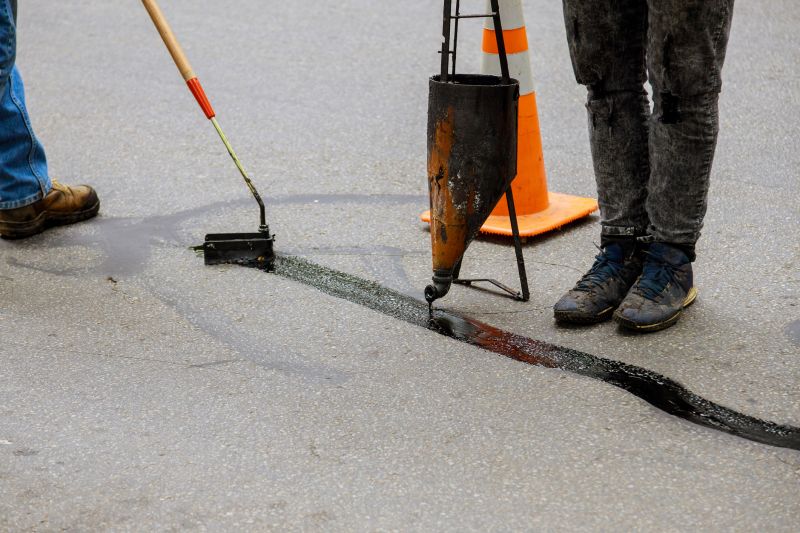
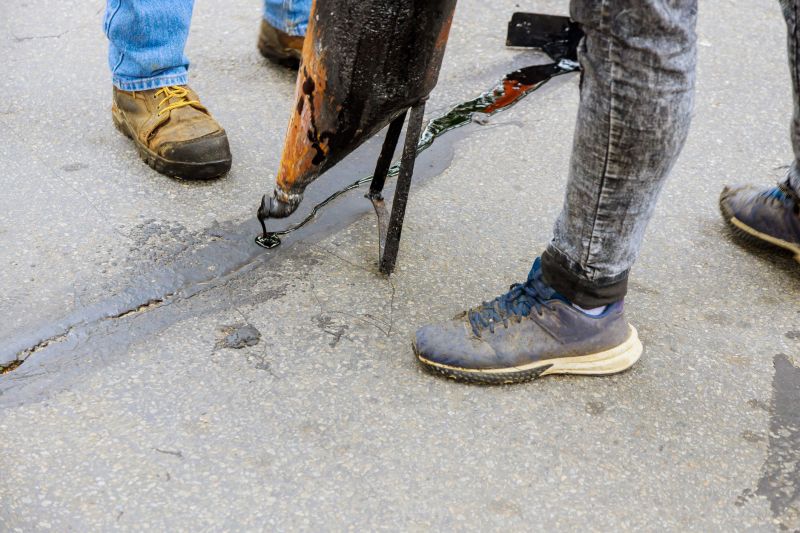
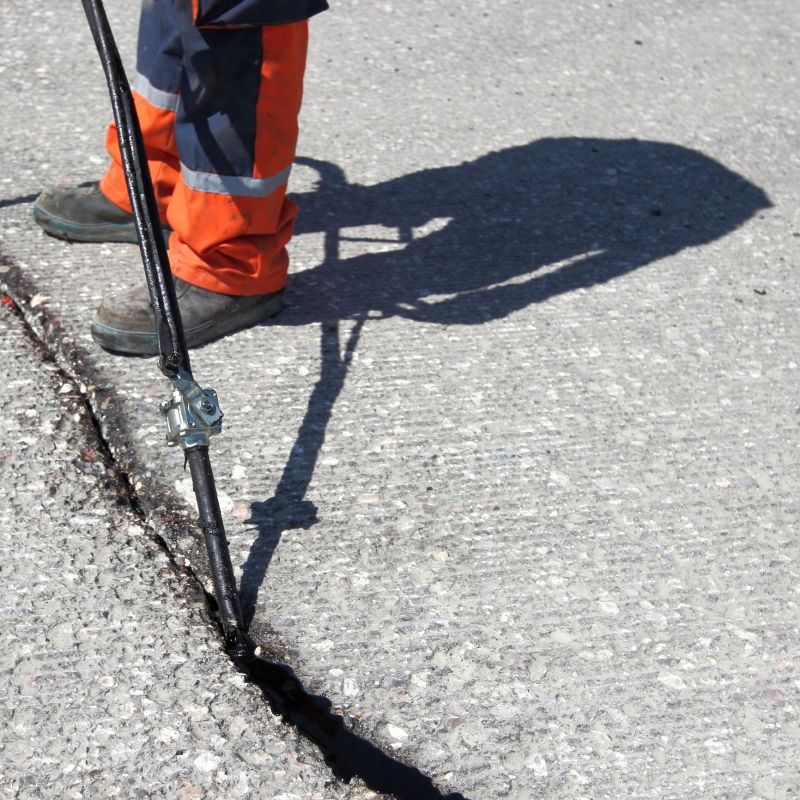
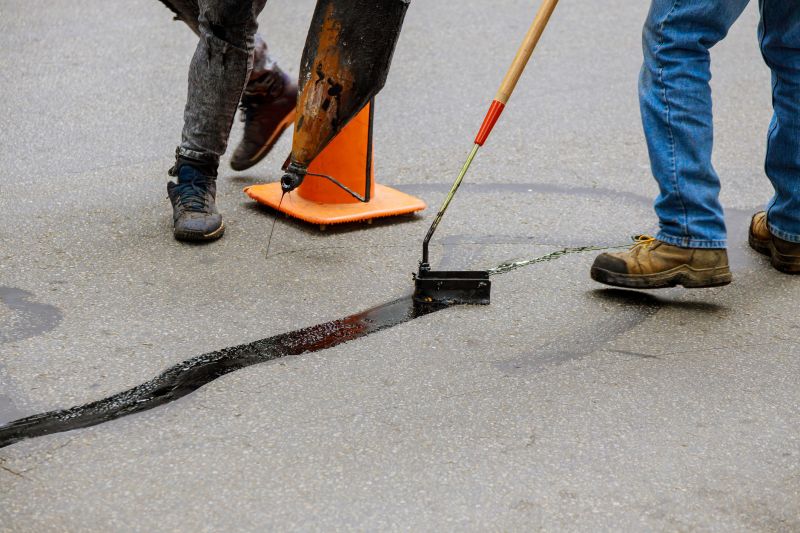
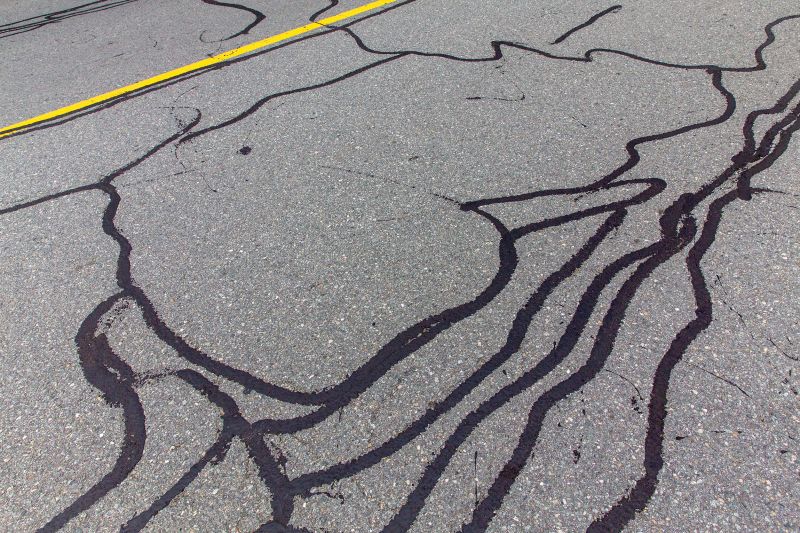
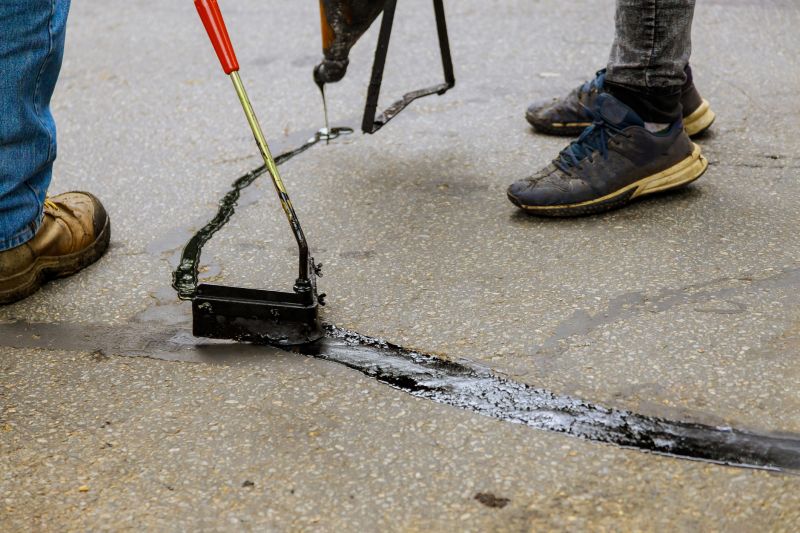
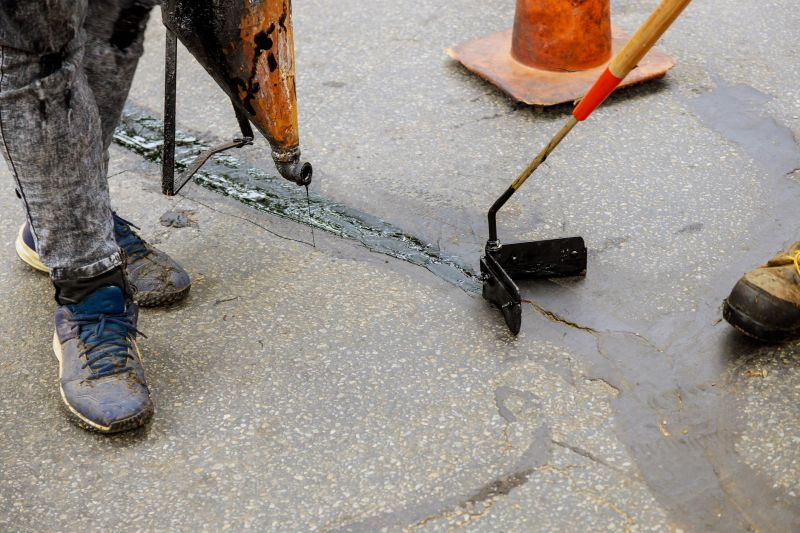
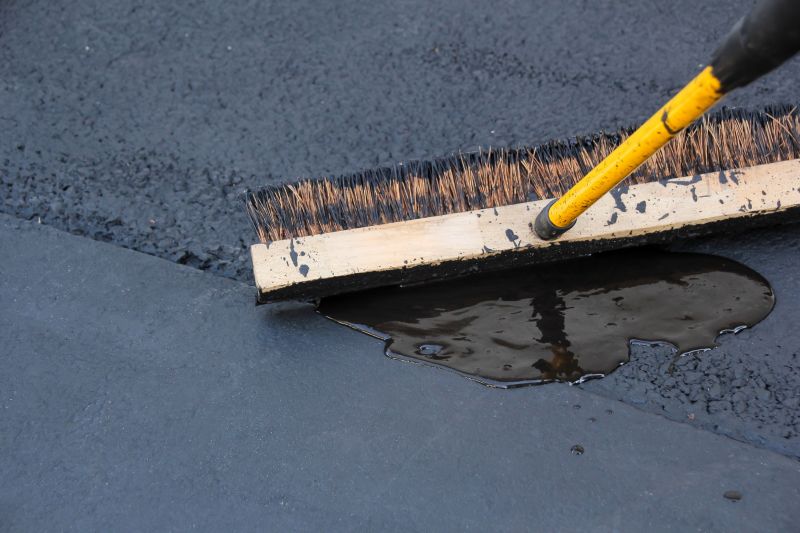
Chip Seal Road Repairs involve applying a layer of asphalt emulsion followed by aggregate, creating a protective surface that extends the lifespan of pavement. This process is cost-effective and provides a smooth, durable finish. Proper timing ensures optimal adhesion and performance, reducing the likelihood of surface failures and the need for frequent repairs.
The process of laying asphalt and aggregate.

Cleaning and priming before application.

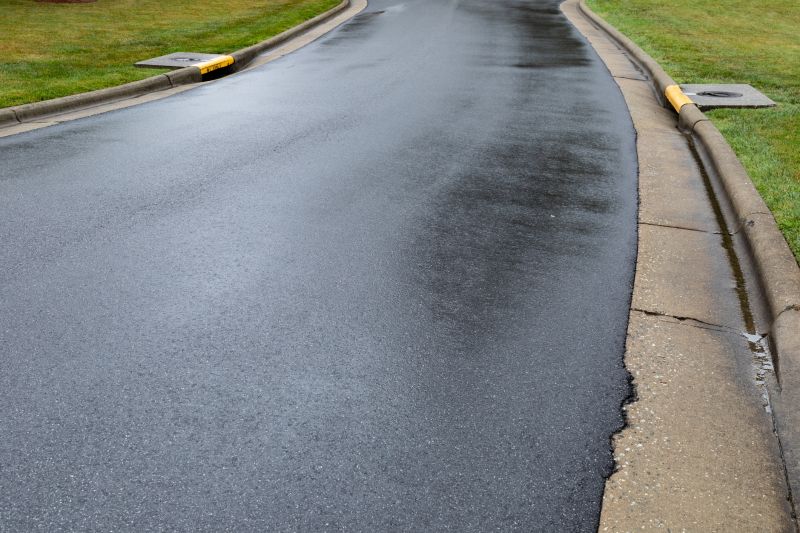
Completed repair with durable surface.

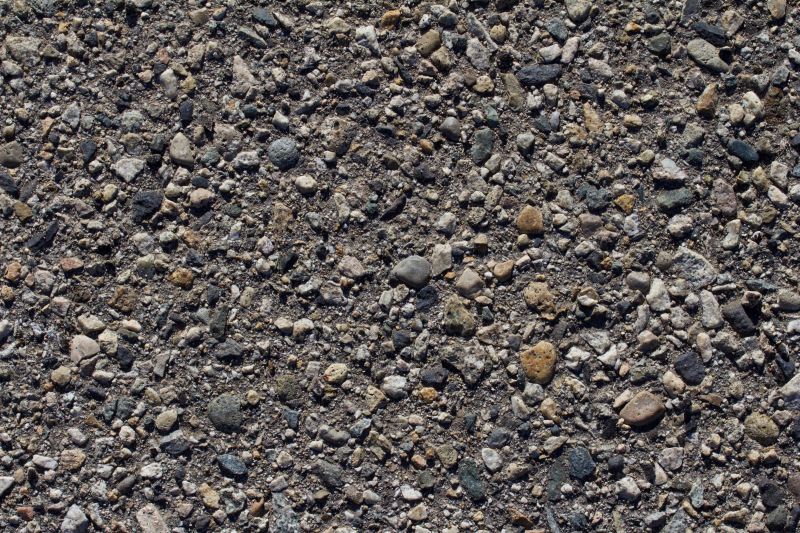
Assessing the surface after application.
Finishes and colors that play nicely with Chip Seal Road Repairs.
Little measurements that prevent headaches on Chip Seal Road Repairs day.
A 60-second routine that keeps Chip Seal Road Repairs looking new.
A frequent mistake in Chip Seal Road Repairs and how to dodge it.
Small tweaks to make Chip Seal Road Repairs safer and easier to use.

Lower-waste or water-saving choices for Chip Seal Road Repairs.
The short, realistic tool list for quality Chip Seal Road Repairs.
Rough timing from prep to clean-up for Chip Seal Road Repairs.
Choosing the right time for Chip Seal Road Repairs is essential for achieving a long-lasting, high-quality surface. Proper weather conditions and seasonal timing help ensure the effectiveness of the process, ultimately leading to fewer repairs and a smoother ride.
Interested in scheduling Chip Seal Road Repairs? Fill out the contact form to get more information and assistance.